
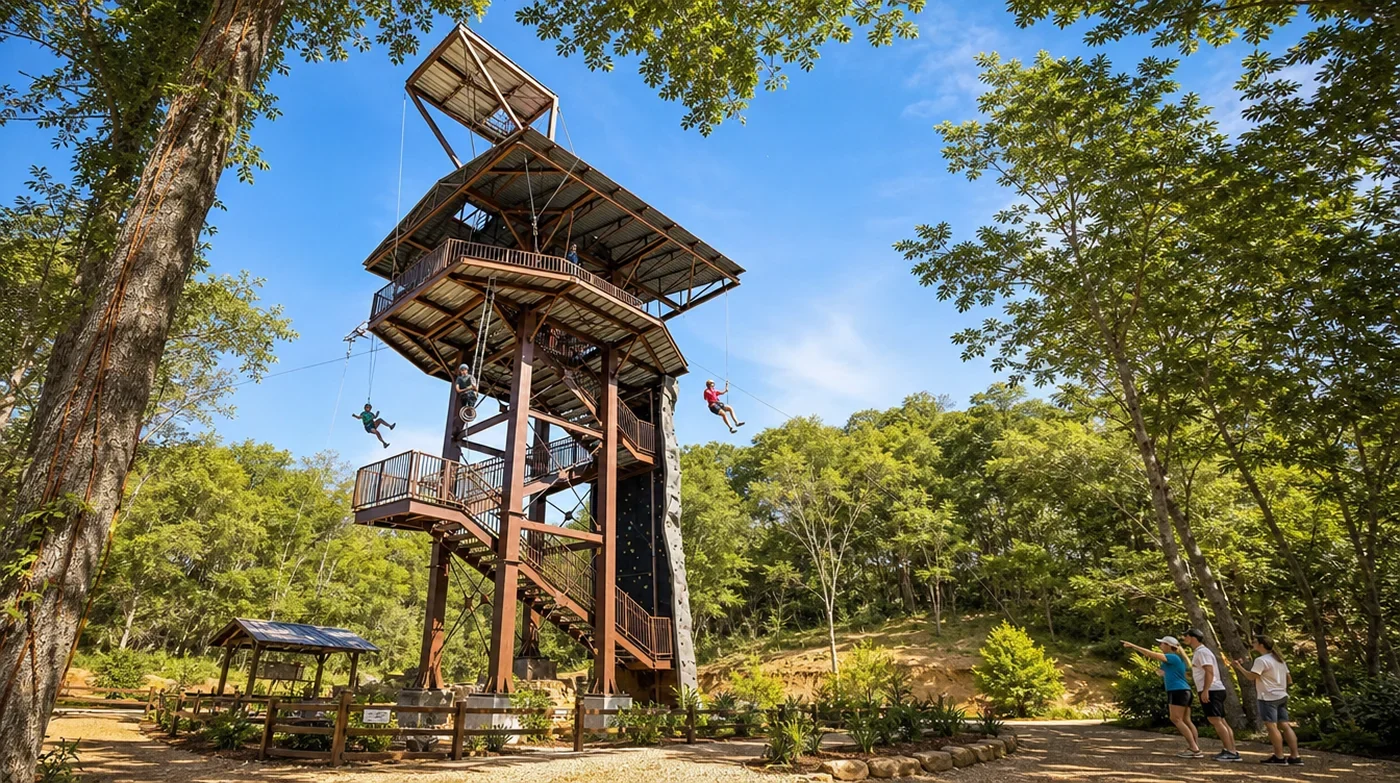
Brief, site study, layout, approvals, delivery, installation, training and handover: how an adventure park project runs and who handles each stage.
An adventure park project can feel overwhelming from the outside: land, drawings, approvals, containers, cranes and staff. In reality, it follows a clear sequence. This guide walks you through how an adventure park project runs, from the first brief to opening day, and who handles what at each stage.
Stage 1: The brief
Every good project starts with a clear brief. Before any drawings, you should be able to answer:
- Who is your audience? Families, school groups, corporates, tourists or a mix.
- What is your budget range? Include attractions, civil works, buildings and working capital.
- What is your target opening date? Season matters: opening before summer holidays or the winter tourist season can make a big difference to year one.
- What land do you have? Size, slope, trees, water, access road and power.
Share this in one call or meeting and the planning team can come back with realistic options rather than a wish list.
Stage 2: Site study
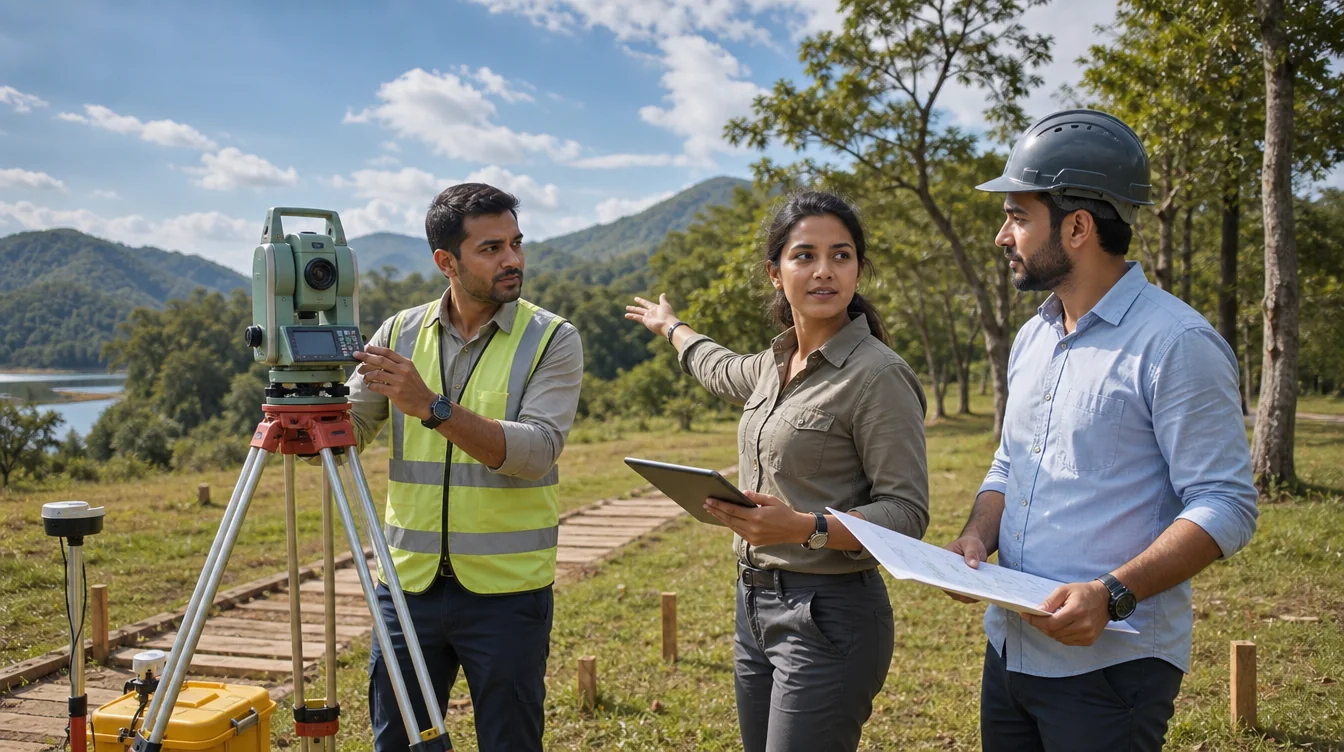
A site visit, or a detailed review of photos, drone video and survey drawings, shows what the land can support. The team looks at soil, slopes, existing trees, wind exposure, drainage, access for trucks and cranes, and where guests will park and enter. This is when natural fits appear: a valley that suits a zipline, a grove that suits a tree based rope course, or a flat open area for a tower.
Stage 3: Concept and layout
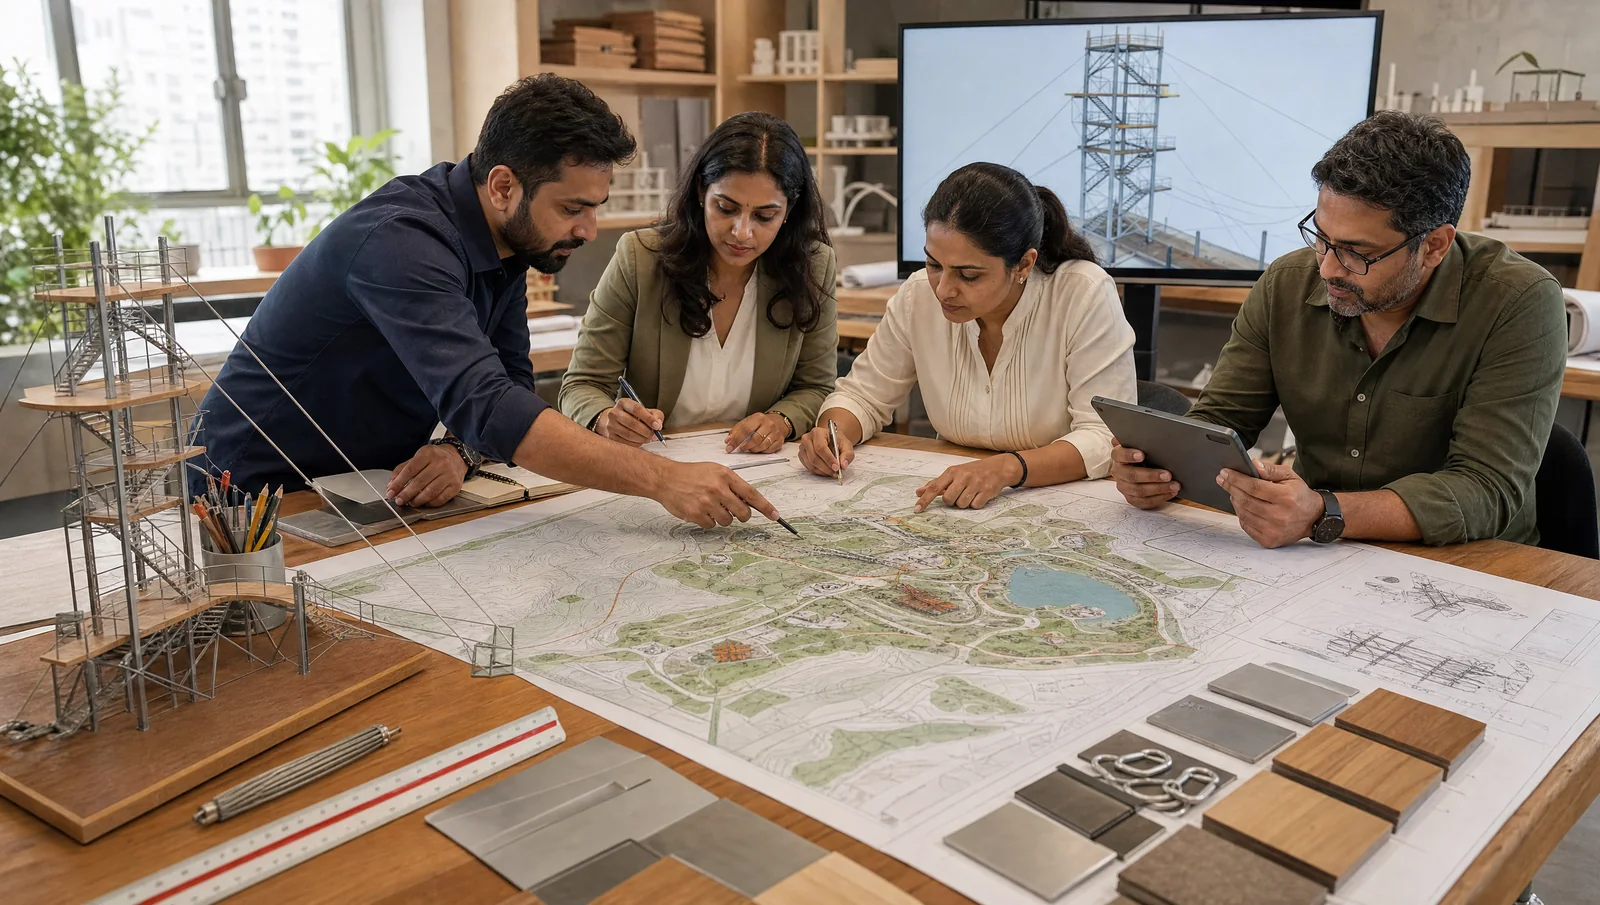
Next comes a concept layout. It places each attraction on the site and plans guest flow from the ticket counter through each activity to the cafe and exit. A good layout balances thrill and family attractions, keeps queues out of the sun and lets staff see the whole park.
A typical first phase might combine a high rope course, a zipline and a multi activity adventure tower, with space reserved for a giant swing or a via ferrata climbing route in phase two. You receive the layout with an indicative budget for each item, so you can adjust before final design.
Stage 4: Detailed design and quotation
Once you approve the concept, detailed drawings follow: element heights, foundation loads, platform sizes, cable spans and safety zones. You receive a final quotation that lists every item, its specifications, delivery terms, installation scope and warranty as per the manufacturer’s terms.
At this point you also receive foundation and civil requirements, so your contractor can price and start site works.
Stage 5: Approvals, civil works and insurance (owner’s side)
This stage runs in parallel with equipment lead times, and it sits with you as the owner:
- Permits: land use, building, fire, tourism registration and any state adventure activity approvals.
- Civil works: foundations, footings, paths, buildings, washrooms, drainage, power and water.
- Insurance: construction risk during works and public liability before opening.
JumpKing can share drawings and documents your architect, engineer or consultant may need, but applications and civil contracts are yours. Starting these early is the single biggest way to avoid a late opening.
Stage 6: Delivery
Equipment is typically shipped in stages so the site is not crowded. Large items such as tower steel and poles usually arrive first, followed by cables, platforms, nets and safety gear. You need a clear, dry storage area and a site in charge to receive and check each delivery against the packing list.
Stage 7: Installation
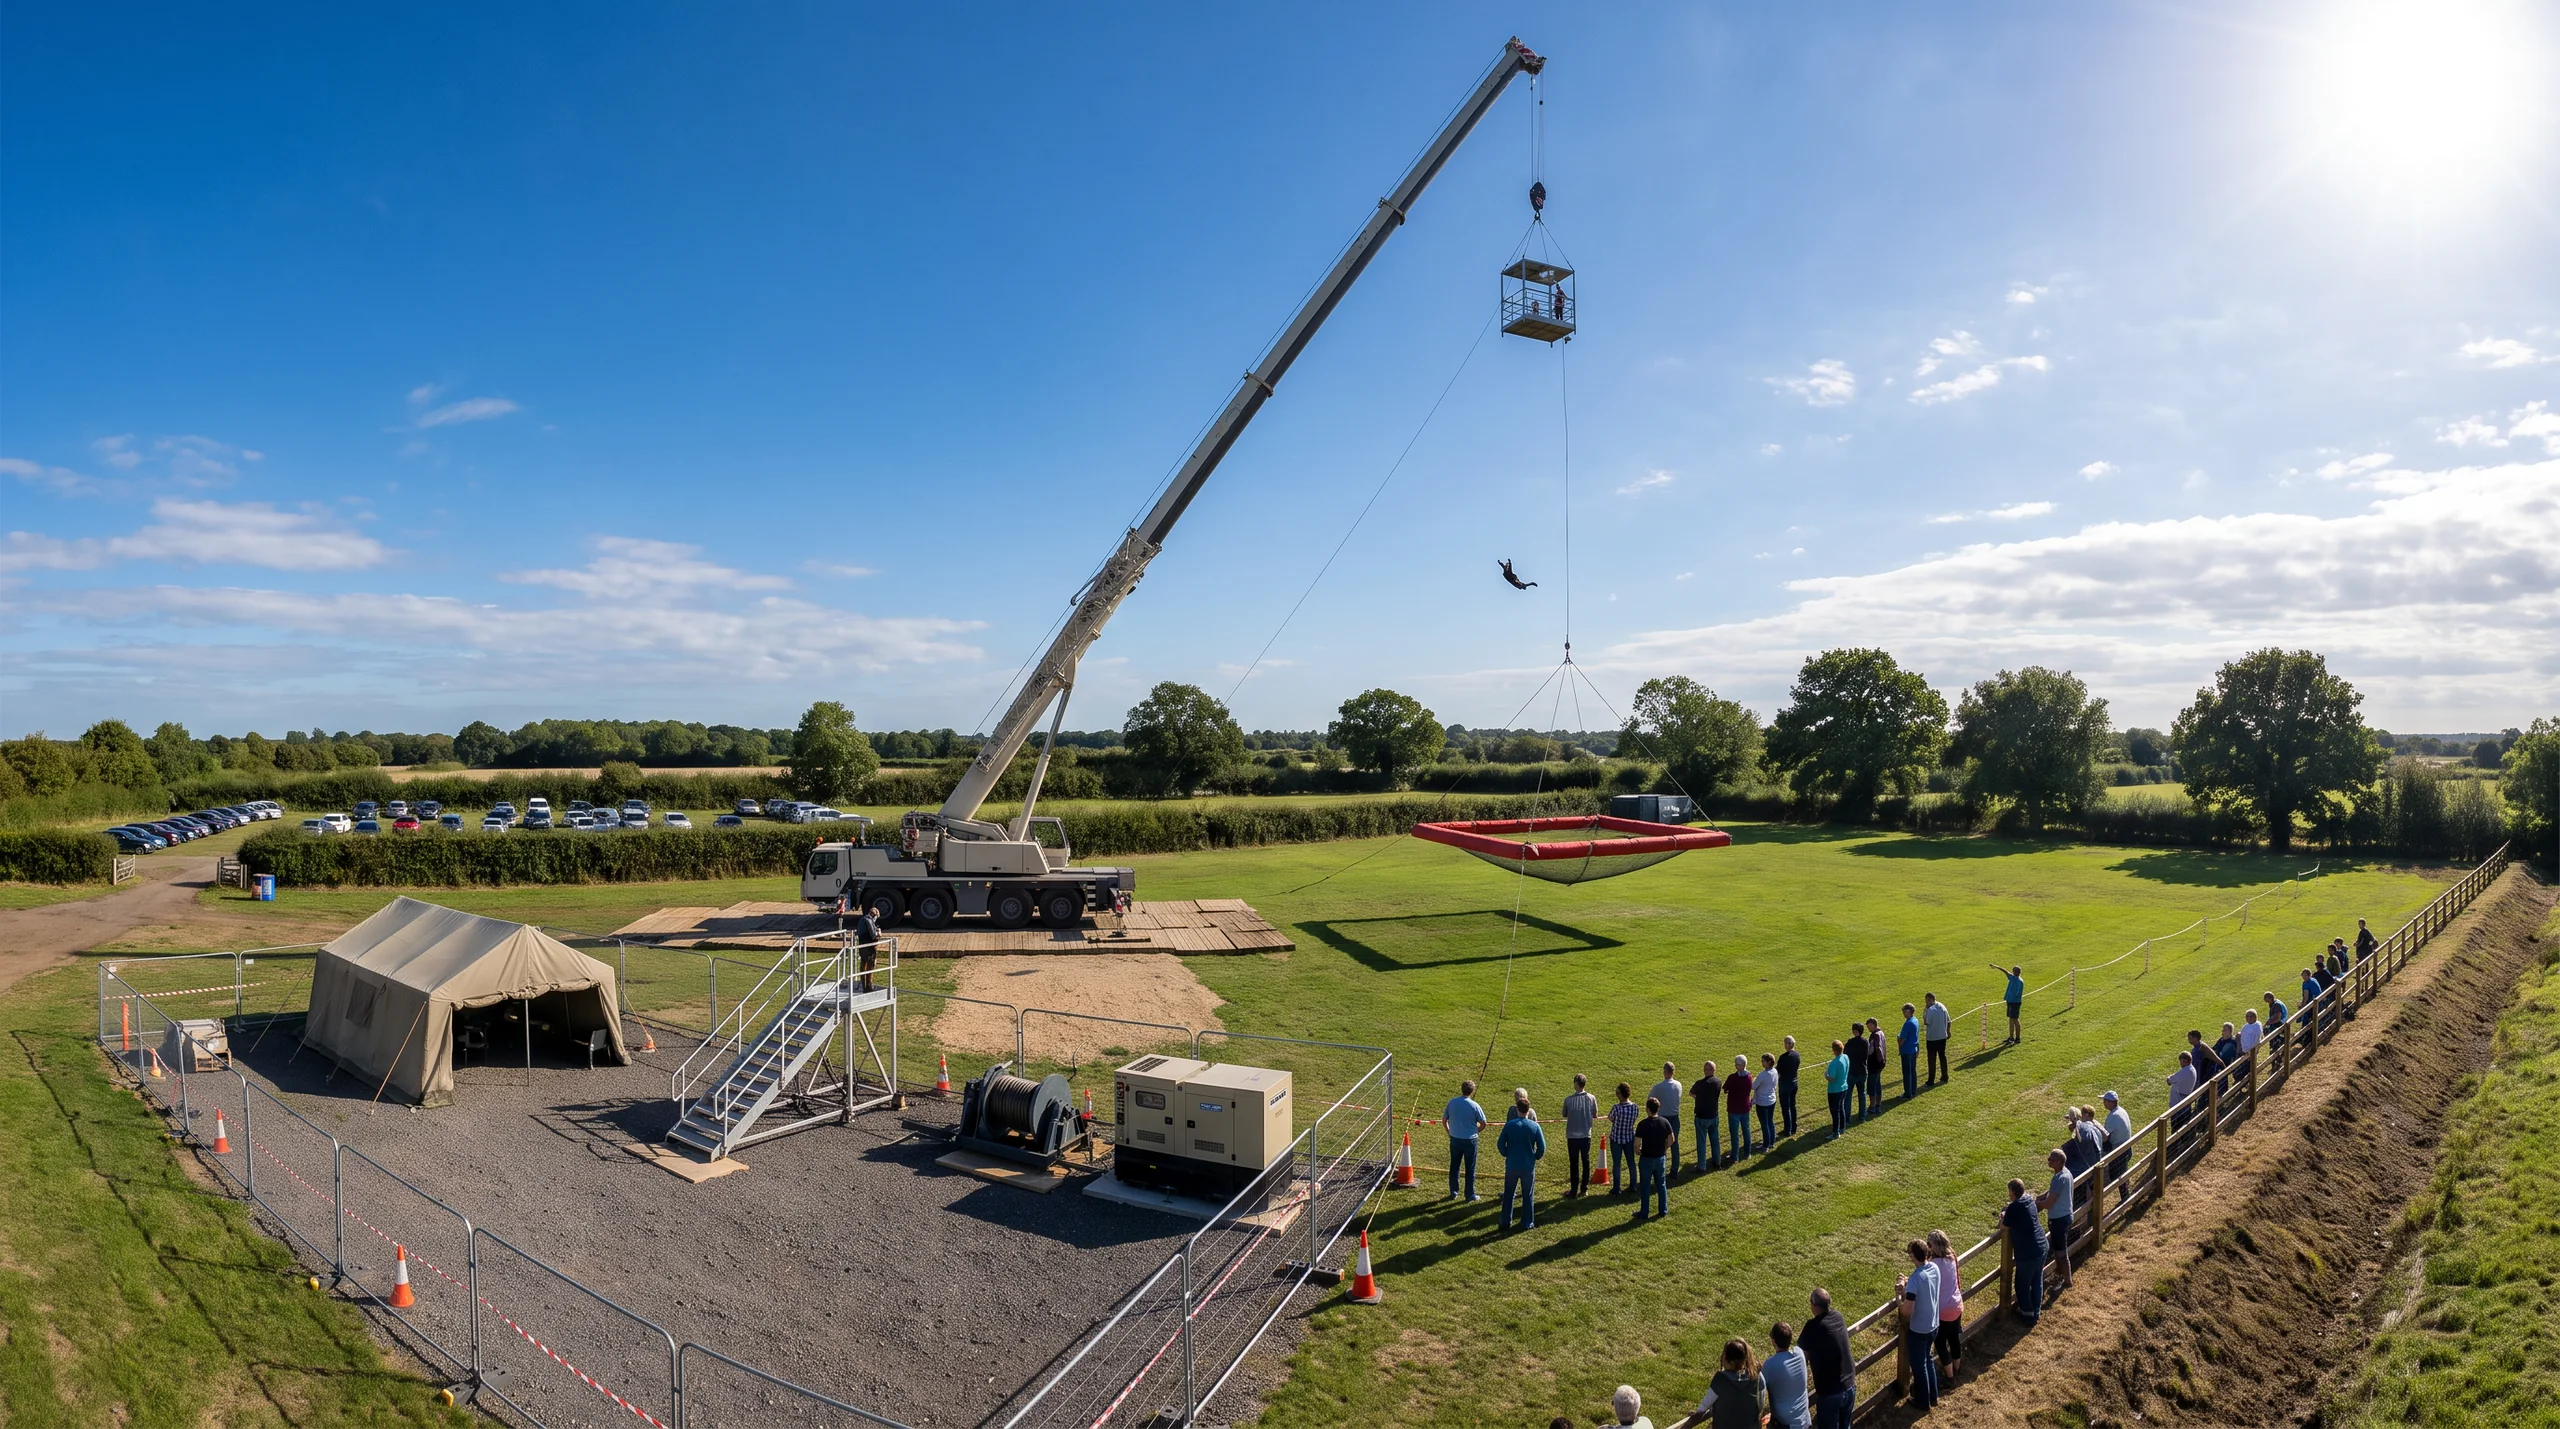
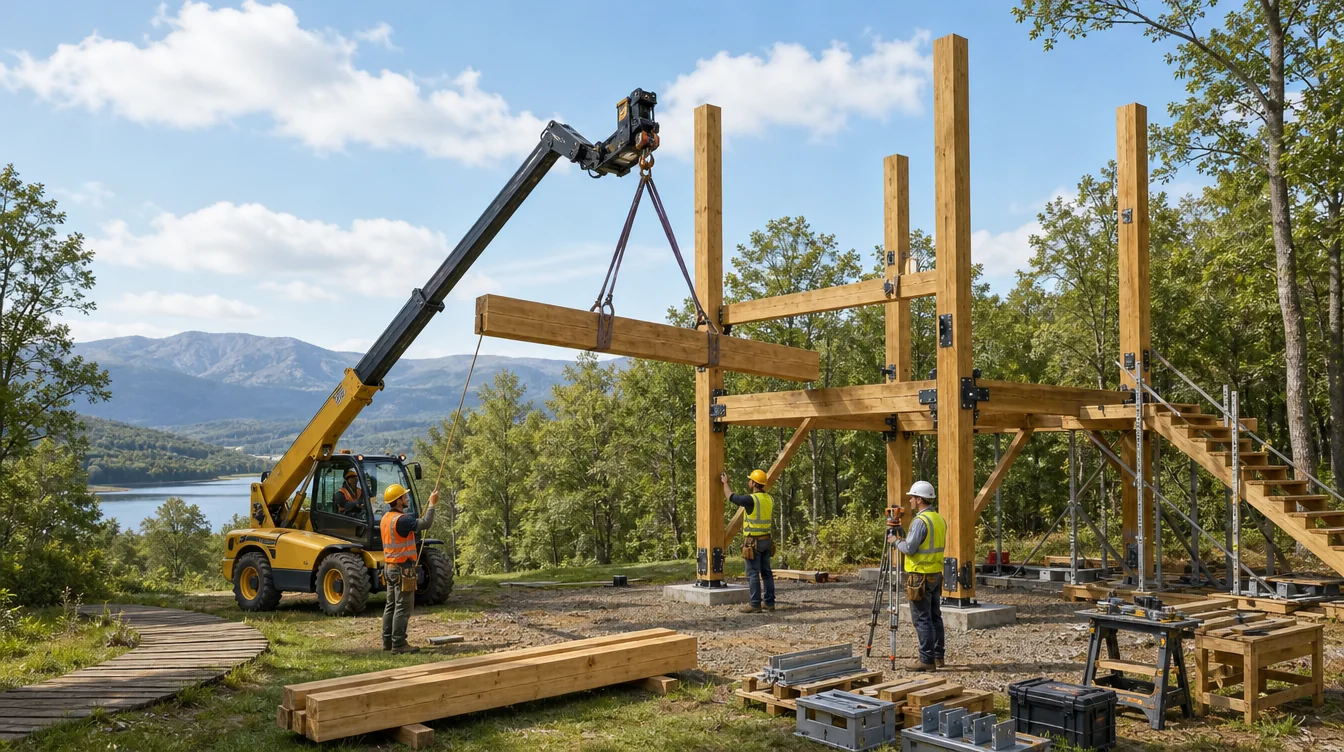
Installation can start once foundations have cured and been checked. Depending on the attractions, it may need cranes, lifts and skilled rope access teams. A compact rope course may take a few weeks; a multi attraction park takes longer. Weather, especially monsoon rain and wind, can affect the schedule.
Stage 8: Testing and operator training
Every attraction is load tested and checked before guests use it. In parallel, your staff are trained on guest briefing, fitting harnesses, running each element, daily inspections and rescue. Plan to have your full operating team hired before this stage, not after. Training is far more effective when it is done on your own equipment.
Stage 9: Handover and opening
At handover you should receive the operations and maintenance manuals, inspection checklists, PPE certificates, as built drawings, a recommended spare parts list and warranty documents. A soft opening with friends, family and local schools is a smart way to test operations before you open to the public.
A typical timeline at a glance
| Stage | Who handles it | Typical duration |
|---|---|---|
| Brief and site study | Owner with JumpKing | 2 to 4 weeks |
| Concept layout and budget | JumpKing | 2 to 4 weeks |
| Detailed design and quotation | JumpKing | 3 to 6 weeks |
| Permits, civil works, insurance | Owner | 2 to 6 months, in parallel |
| Lead time and delivery | JumpKing | 2 to 4 months |
| Installation and testing | JumpKing | 3 to 10 weeks |
| Training and handover | JumpKing with your team | 1 to 2 weeks |
From signed order to opening, a medium sized adventure park commonly takes six to nine months, and larger projects longer.
Common causes of delay, and how to avoid them
Most adventure park projects that open late do so for a handful of predictable reasons. Knowing them in advance helps you plan around them.
- Late permits. Approvals can take months. Start the paperwork as soon as the concept is fixed, not after equipment is ordered.
- Foundations not ready. Installation cannot begin until footings are cast, cured and checked. Give your civil contractor the foundation drawings early and agree a firm date.
- Changing the design midway. Adding or moving attractions after detailed design means new drawings and sometimes new orders. Make big decisions at the concept stage.
- Monsoon and weather. Heavy rain stops crane work and concrete pouring. Plan installation for dry months wherever possible.
- Hiring staff too late. Training needs people. If your operating team is not hired by the installation stage, opening day will wait for them.
- Power and water. Some attractions need a stable three phase supply or a water connection for testing. Confirm these well before installation.
A simple shared timeline, reviewed every two weeks by you, your civil contractor and your JumpKing contact, catches most of these issues before they cost you a season.
Why one point of contact helps
Most delays happen between parties: the designer waits for the civil contractor, the installer waits for a missing part, and the owner chases everyone. JumpKing plans, designs and delivers parks and attractions with one point of contact from brief to opening, so you have a single person to call for the attraction side of the project. Browse our attractions in the shop to start a shortlist.
Questions buyers ask
How long does it take to build an adventure park in India?
A medium park often takes six to nine months from signed order to opening, depending on permits, civil works and weather.
Who handles permits and civil works?
The owner. JumpKing shares the drawings and foundation requirements your team needs.
Can we open in phases?
Yes, and it is often wise. Opening with a few core attractions brings in revenue and guest feedback before phase two.
What do we receive at handover?
Manuals, inspection checklists, certificates, drawings, spare parts lists and warranty documents as per the manufacturer’s terms.
Ready to start your project? Share your site and budget and we will map out the first steps.